 Paths & Paws
Key Takeaways
- 1Weight-based sizing charts are unreliable. Measure girth and neck circumference directly with a tape
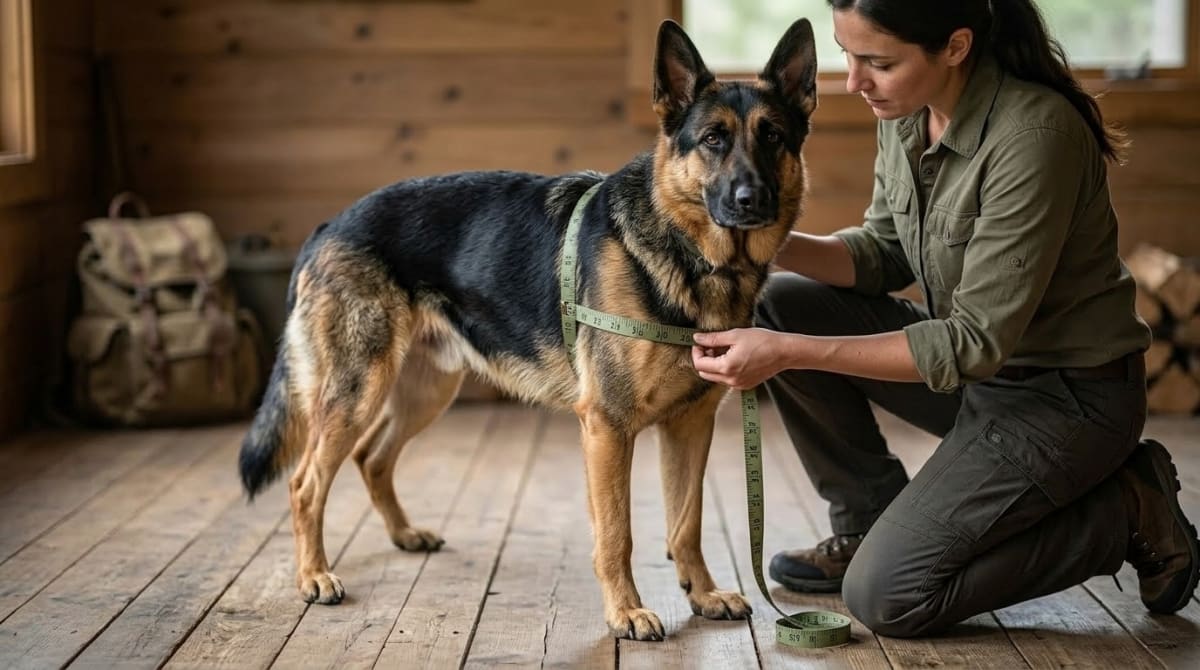
- 2Chest girth wraps around the widest part of the ribcage, just behind the front legs
- 3Leave two inches of armpit clearance to prevent webbing from sawing into soft tissue on climbs
- 4When your dog falls between sizes, go up. Straps tighten down, but a small frame cannot stretch
Why Weight Is a Terrible Sizing Metric
Weight is a garbage metric for sizing trail gear. Just stop using it. A 95-pound German Shepherd and a 95-pound Mastiff have completely different skeletons, meaning a generic chest piece cut for one body type will inevitably rub the other dog raw within the first two miles of a technical hike and turn a solid weekend trip into a miserable slog for everybody involved. Jasper is a 95-pound German Shepherd. His huge 34-inch chest drop makes standard sizing charts useless. We learned the hard way that getting the right fit demands actual measurements taken while the dog stands square. We bought a large vest based purely on his weight when we first started hiking the Cascades. It jammed right up into his armpits. Now we run a tape measure over him before buying anything.
What You Need
Grab your tools before you ever try handling the dog.
- Flexible tailor's tape
- Paracord or garage tape measure (backup)
- High-value treats
The dog has to stay planted on all four paws. The ribcage dimensions warp instantly the second a dog sits or lies down, and that sloppy measurement leads directly to gear that slides around over rocky terrain and destroys your control right when you need it most during steep downhill descents. We use tiny pieces of chicken to lock Jasper's attention. Keep the head up. Keep the spine straight. Bribe a friend to help. One of you feeds the treats out slowly. The other runs the tape.
Step-by-Step Measurement Guide
Step 1. Stand the dog up. Put them on flat ground. Skeletons shift. Have a friend feed treats out slow to lock their posture in place while you work the tape around them. The numbers are useless if the dog arches their back.
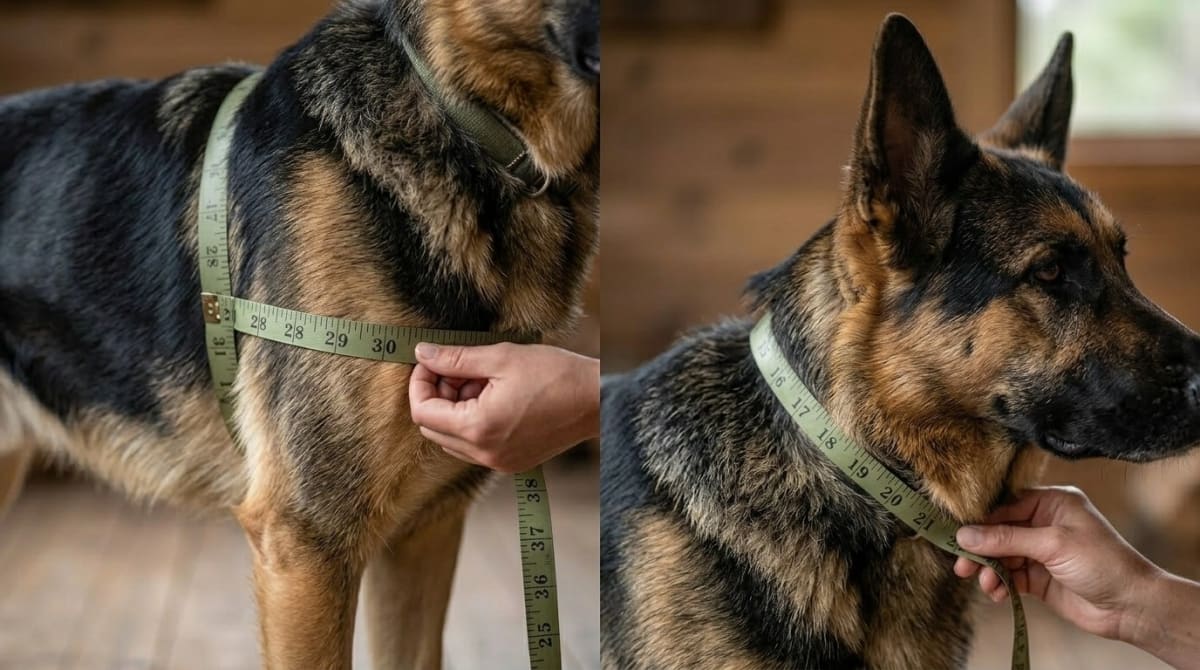
Step 2. Locate the chest girth. Find the true widest chunk of the ribcage. It usually sits right behind the front legs. Wrap the tape snug around that circumference without crushing the fur all the way down to the skin and read the exact number where the ends overlap.
Step 3. Measure the lower neck. Standard collars ride high up near the ears. Trail setups sit lower. You want to wrap the tape around that lower junction point right where the neck meets the torso above the shoulder blades.
Step 4. Check armpit clearance. Find the gap from the back of the front leg to the future girth strap. Two inches of clearance is ironclad law here. Without that mandatory empty space the stiff nylon webbing will relentlessly saw into the soft armpit skin on steep climbs, forcing a very early end to your weekend trip and demanding days of healing.
Step 5. Do the two-finger test. Try this once the gear shows up. Two fingers should slide perfectly flat underneath every strap. It's too tight if they won't fit. Test it again after a quick walk.
Common Sizing Mistakes
People buy the wrong size all the time because they trust manufacturer weight brackets. Weight is a backup check. The raw tape numbers dictate the true fit.
Double-coated breeds cause constant headaches here. You have to pull the tape tight enough to part that outer coat so the fabric rests flat against the undercoat. Leaving the tape loose over all that fluff guarantees the gear will slide around under a heavy load and wreck your control on steep downhill sections.
Another classic mistake is measuring the narrowest part of the neck. Chest plates wrap around the base of the neck, meaning a high measurement forces the front panel to sit too far up the throat where it will ultimately choke the dog under pulling tension the second you hit a long incline section.
Never panic if the dog falls right between two sizes. Go up a size. A bigger frame gives you room to adjust. You can tighten straps down. You cannot force a small frame to stretch past its maximum webbing limit. The same sizing logic carries over when you add a dog backpack to the kit — fit drives function more than any listed weight capacity.
Frequently Asked Questions
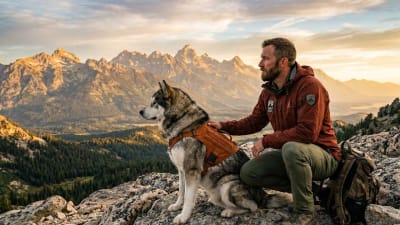
Kelly brings an engineering mindset to dog hiking gear. After thousands of miles with Jasper testing every harness, pack, and boot on the market, he knows what holds up and what fails.