 Paths & Paws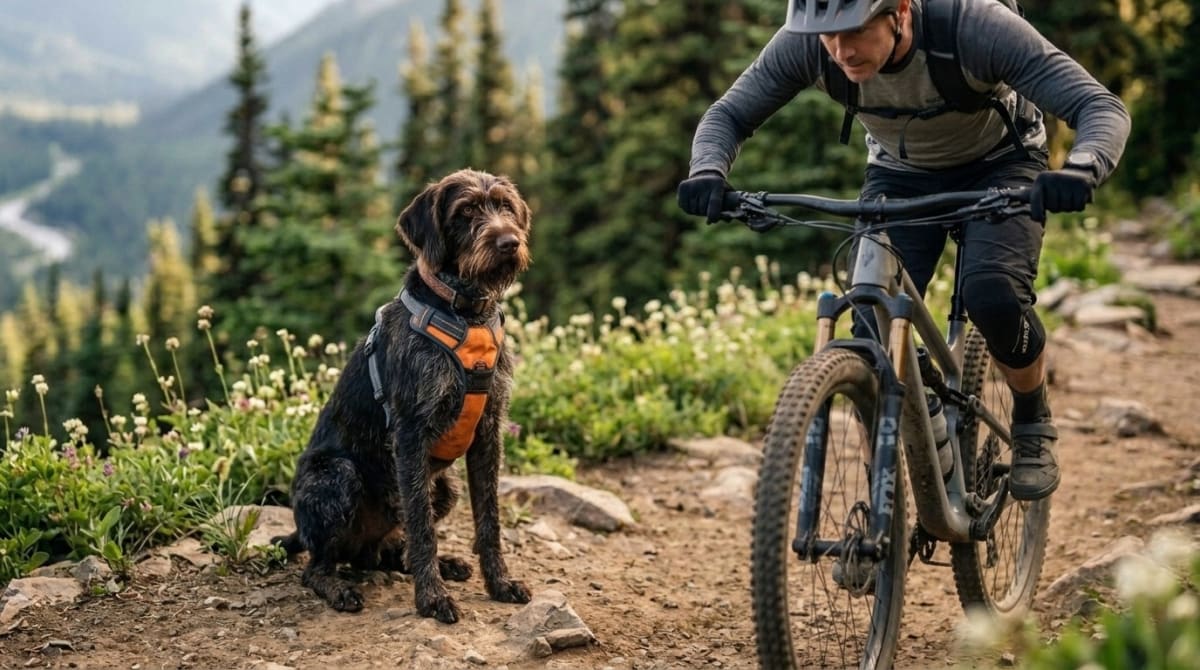
Mountain bikes flying down a trail trigger a deep chase instinct. You cannot just choke the leash and pray. We had to teach the dog that sitting quietly pays out better than lunging at knobby tires. This takes serious patience.
We learned this the hard way with our fifty-pound Lab mix rescue. When a downhill rider bombed around a blind corner during Scout's first big weekend hike she nearly ripped my shoulder completely out of the socket while desperately trying to catch those spinning spokes. She had zero impulse control around fast movement. We spent three months dialing in distance thresholds and counter-conditioning to build her trail manners. Now she steps off into the dirt and waits. Here's exactly how to practice this.
Key Takeaways
- 1Distance kills the intensity, so find the exact yardage where your dog can still break eye contact and check in with you
- 2Mark the calm behavior the instant your dog spots the bike and stays seated, then feed a steady stream of high-value treats until it passes
- 3A tight but relaxed leash reads as safety to a dog, while choking up on the line the moment you hear tires spikes their adrenaline before the bike even appears
- 4Deep impulse control took Scout three months of daily trail repetitions, not four days of casual practice
What You Need
Trail Training Gear
- Standard six-foot webbed leash (skip the retractable style)
- Harness with a front-clip ring
- High-value treats like sliced hot dogs or freeze-dried liver
- Hip pouch for fast treat delivery
Dialing in trail manners requires specific gear. Ditch the retractable leash entirely. A standard six-foot webbed lead gives you the control needed to hold a tight perimeter around a highly aroused dog. Get a harness with a front-clip ring. This attachment point redirects all that forward lunging force right back toward your hips and stops the dog from crushing their windpipe on a flat collar while desperately trying to bolt.
Bring the high-value treats. We slice up cheap hot dogs or use freeze-dried liver chunks for Scout. Dry kibble will never compete with the raw thrill of a passing mountain bike. You need smelly food that instantly snaps their brain back to you. Strap on a hip pouch. Fumbling around in jacket pockets burns precious seconds when a cyclist suddenly drops in. The delivery speed of the hot dog matters just as much as the taste. If you're still deciding on hardware, our breakdown of leash length for single-track trails covers why a fixed six-foot line beats an adjustable one for this exact drill.
Step by Step Training
1. Find a Practice Trail With Good Visibility
Do not start on narrow singletrack. Find some doubletrack. We kick off this training on local paved bike paths or logging roads which offer the sightlines you need to spot approaching riders long before they hit your immediate airspace. This buys you critical reaction time. Working in an open field removes the jump scare. The dog gets a chance to process the trigger approaching from a safe zone instead of instantly redlining into pure panic mode.
2. Establish a Distance Threshold
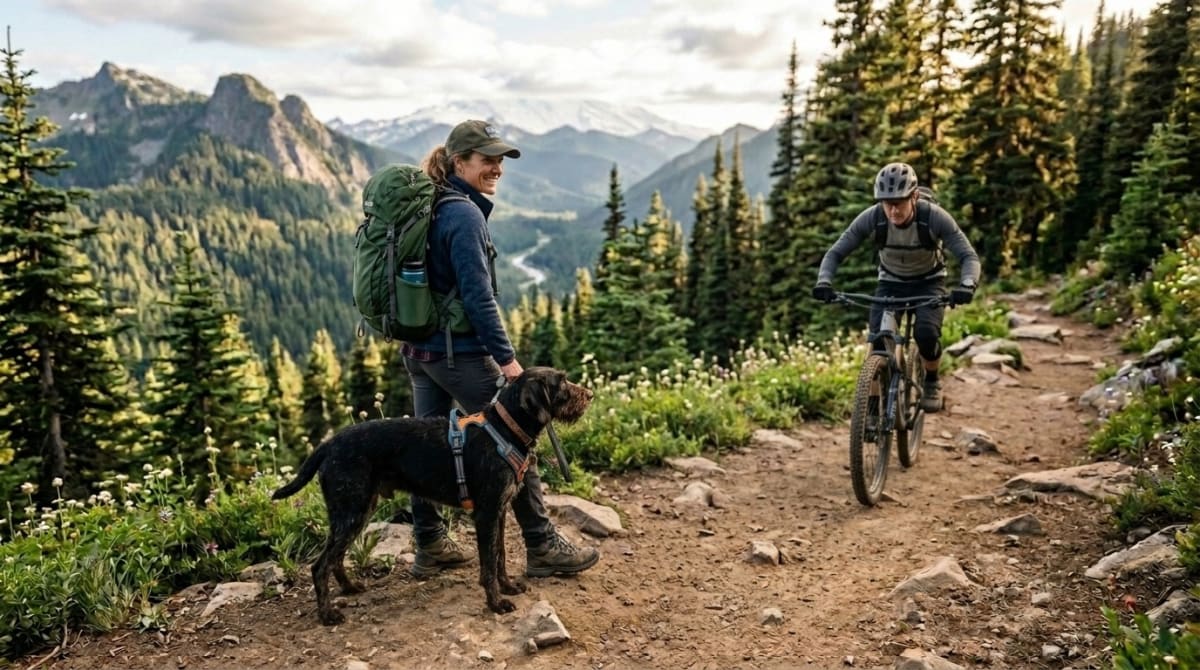
Distance kills the intensity. Step off the dirt right away. Walk at least fifteen feet into the brush. If the dog still barks or hits the end of the leash you are too close. We have to find the exact yardage where the dog clearly locks onto the passing bicycle but can still manage to break that intense stare and look back at us when we call their name. For an intensely reactive rescue dog this starting line might be fifty yards deep in an open meadow. Start wherever their brain actually allows them to eat food today.
3. Block the Line of Sight
Put the dog in a sit-stay facing the path. Step slightly in front of their nose. This creates a physical wall and fractures their direct line of sight. When we first tested this on Scout my body block kept her from hyper-focusing on the spinning tire tread while establishing a hard boundary she was not allowed to cross. Standing calmly shows the approaching rider that you have the animal contained. Your own legs act as a literal flesh gate stopping the dog from exploding forward if that stay command suddenly fails.
4. Mark and Reward the Pause
Watch their ears and eyes. The second they spot the bike and keep their rear on the ground say a marker word like "yes" and shove a treat in their mouth. We deliver the hot dog during that tiny three-second window right before the rider hits their closest point to our position on the trail because this exact timing forces the brain to link the scary trigger with the reward. This rewires the prey drive. Ignoring the blurry movement pays out in meat.
5. Release After the Distraction Passes
Keep a steady stream of food going. The payday only happens while the bike is visible. This massive contrast teaches the animal that a rattling mountain bike chain is exactly what causes the liver chunks to fall from the sky. Once the cyclist vanishes around the bend you must instantly cut off the food supply and resume a normal walking pace without any fanfare so the dog realizes the fun stops when the bike leaves. Say your release word and step back onto the dirt. They eventually start hoping for bikes to show up.
Common Mistakes
We see beginners accidentally train their dogs to freak out by choking up on the leash the exact second they hear a tire on the dirt. Dogs feel that sudden tension vibrate down the nylon line and interpret it as a massive red flag that something dangerous is about to drop out of the trees right on top of them. This spikes their adrenaline long before the actual bicycle even enters the frame. Keep a relaxed loop in the webbing while retreating into the brush. Loose lines mean nothing is wrong.
Scolding a lunging dog almost never works. Yelling just adds more noise to a chaotic moment. If the dog breaks their sit and goes for the tires that simply means we started the drill way too close to the action and completely blew past the animal's current threshold. We just drag them further back next time. Punishing a rescue for a hardwired prey drive response just teaches them that mountain bikes cause bad things to happen to their neck. The same distance-and-reward logic applies to teaching a dog to step aside for faster trail users, and it carries over directly to broader work on managing a reactive dog on the trail.
Don't abandon the sit-stay requirement early. People run these drills for four days and assume they have a bombproof trail dog. Deep impulse control requires hundreds of boring repetitions before it morphs into a default reflex. Scout chewed through three solid months of daily trail work before she finally learned to drag herself off the gravel just from hearing a freehub clicking a quarter mile away. Do not rush this distance progression. Shrinking the safety gap between twenty feet and three feet takes serious mileage. Cut that distance by a single yard each week.
Frequently Asked Questions
Filed under
Sarah is learning to hike with dogs alongside her readers. Scout is her first trail companion, and she shares every mistake, success, and lesson learned along the way.